How To: Install a Custom Recovery on the Nexus 6
Stock Android is a great experience, and it's probably one of the biggest reasons that people purchase a Nexus device over other Android phones. Without carrier or manufacturer modifications to the core software, the entire user interface feels a lot more clean and snappy, and this also means that developers encounter fewer compatibility issues when creating flashable ZIPs and custom ROMs.But to gain access to many of these wonderful mods, a custom recovery is often required. That's no biggie, though—Nexus devices are always among the easiest to tinker with. Add in the fact that a custom recovery allows for comprehensive system backups, and there's almost no reason not to have one installed on your phone. Please enable JavaScript to watch this video.
Note that there are quite a few ways to get a custom recovery installed, such as with TWRP Manager or using the Windows program Nexus Root Toolkit. While those methods are certainly hassle-free, the one highlighted in this guide allows for more recovery options and doesn't require any work on a computer.
RequirementsNexus 6 (this tutorial is not intended for use with any other device) Root access with unlocked bootloader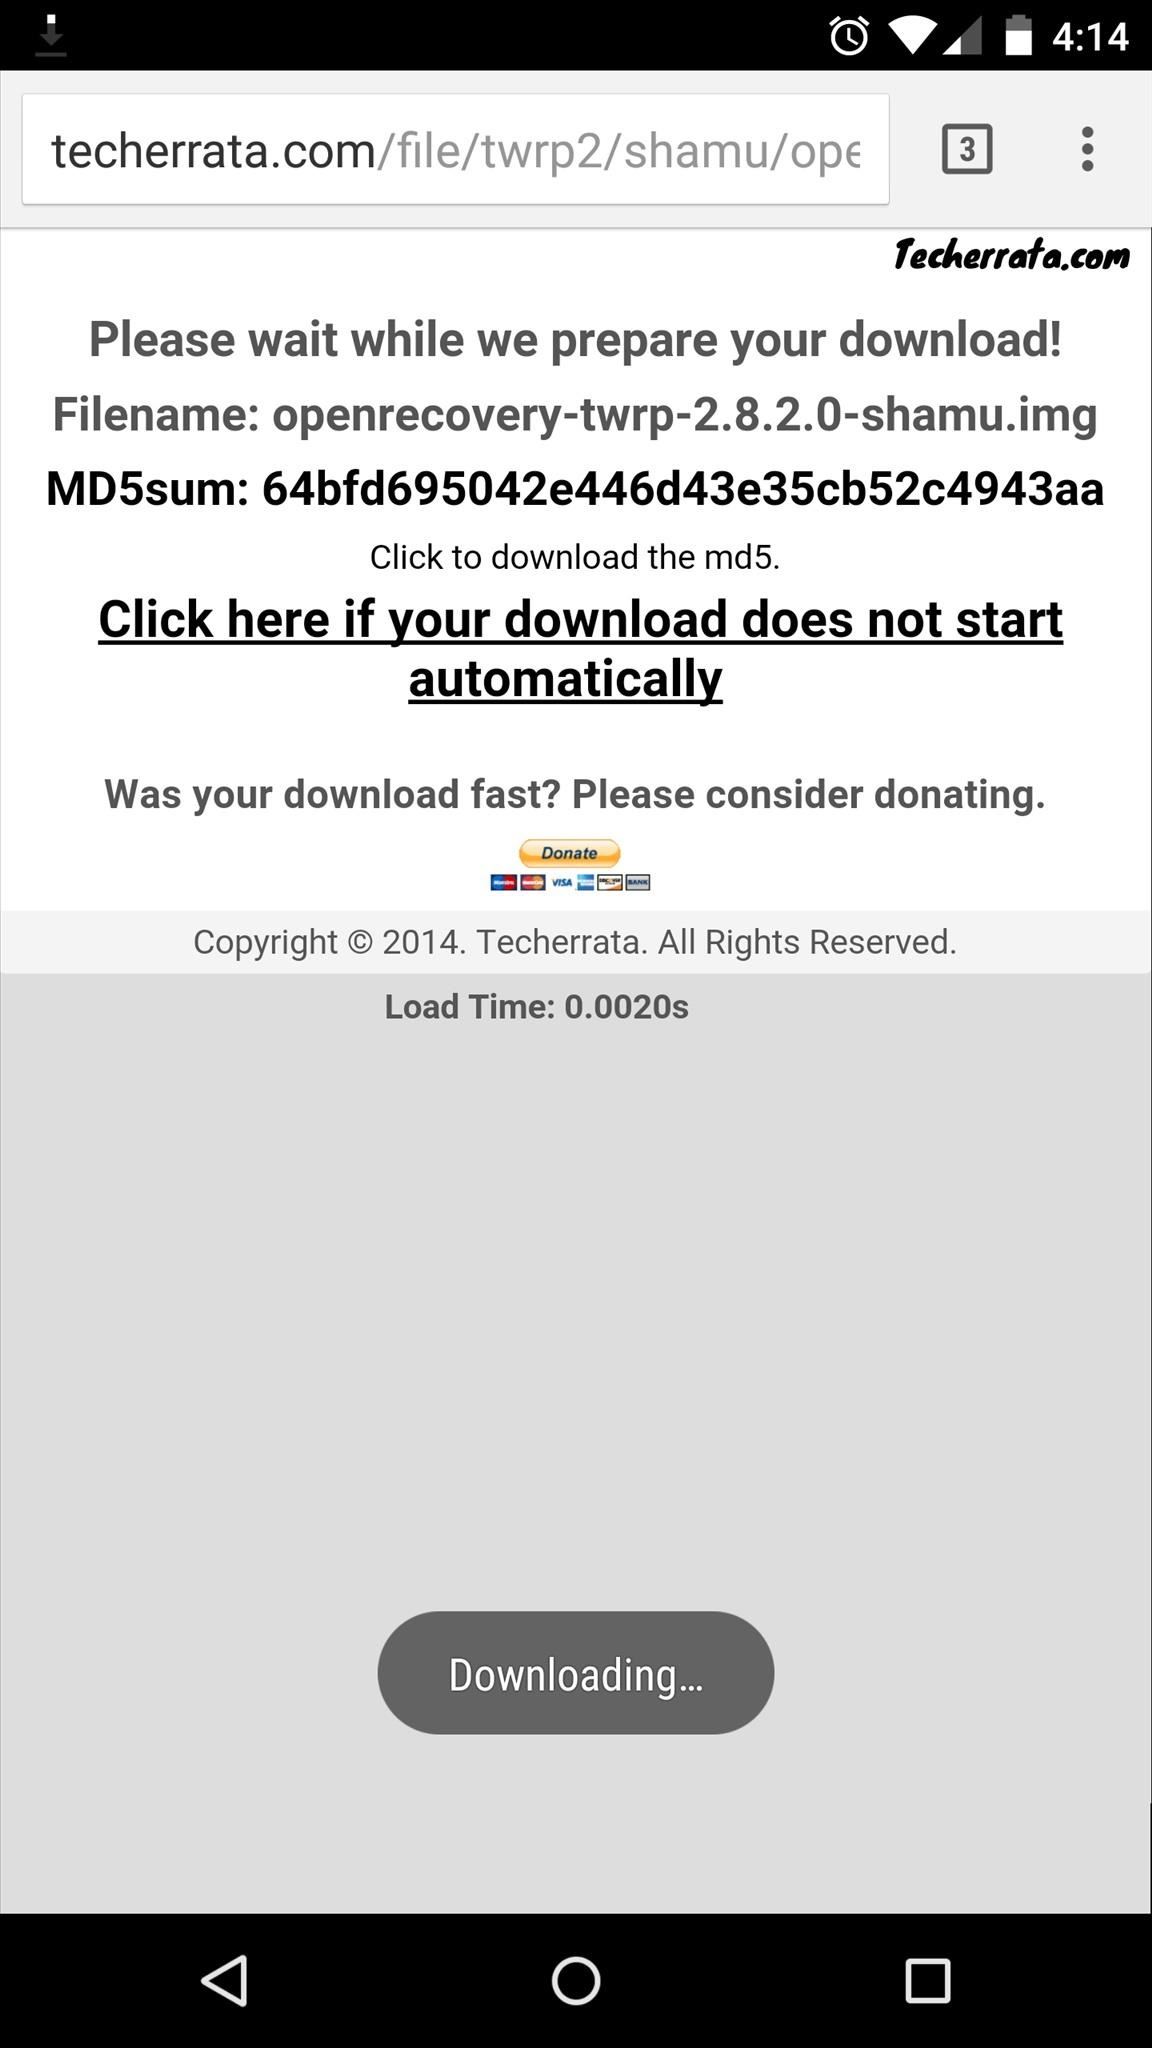
Step 1: Download TWRPTWRP is our custom recovery of choice here at Gadget Hacks, since its touch-based interface makes it incredibly easy to use, and its OpenRecovery compatibility helps with many different mods.From your Nexus 6, tap this link to grab a copy of the latest TWRP recovery image. Wait until the download has finished before proceeding to the next step.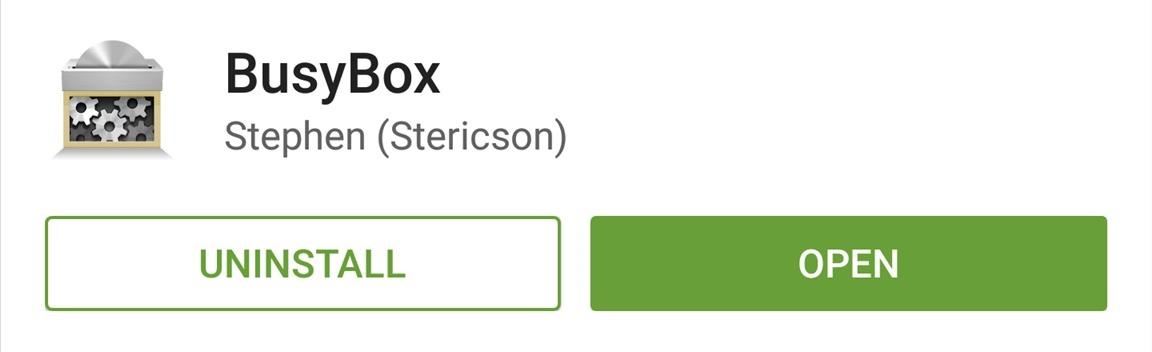
Step 2: Install BusyboxBusyBox is a set of advanced root commands that allow apps to perform certain tasks. The app that you'll be installing TWRP with today utilizes these commands, so you'll need to have BusyBox installed on your system. Search for BusyBox by Stericson on your Play Store app, or use this link to jump straight to the install page. Once you have the BusyBox app installed, you'll need to use it to install the actual commands on your device. Open the app, then tap "Grant" on the Superuser Request popup, and wait until the Smart Install script finishes loading. When Smart Install script has loaded, simply tap "Install" and you'll be good to go.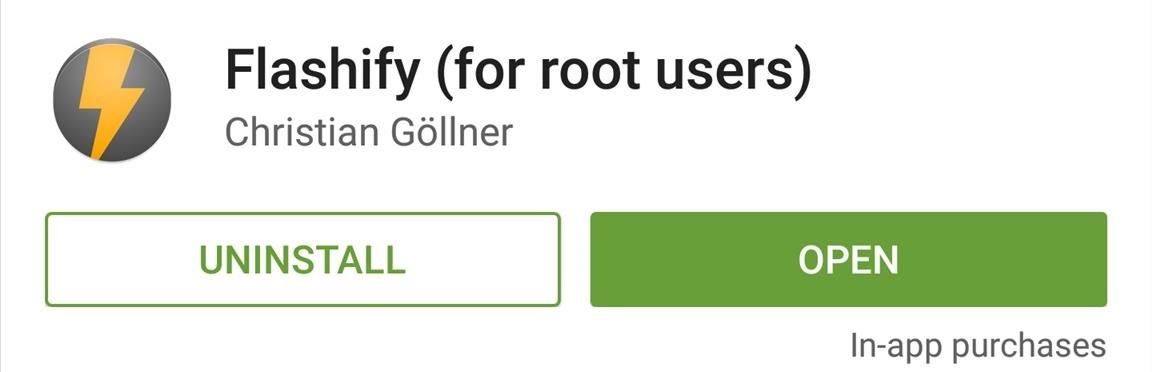
Step 3: Install FlashifyFlashify, from developer Christian Göllner, is a great tool for installing image files (such as TWRP) on your system. You can download the app for free on the Google Play Store at this link. Once you've got Flashify installed, go ahead and open it. Press "Accept" on the Disclaimer popup, then tap "Grant" on the Superuser Access dialog.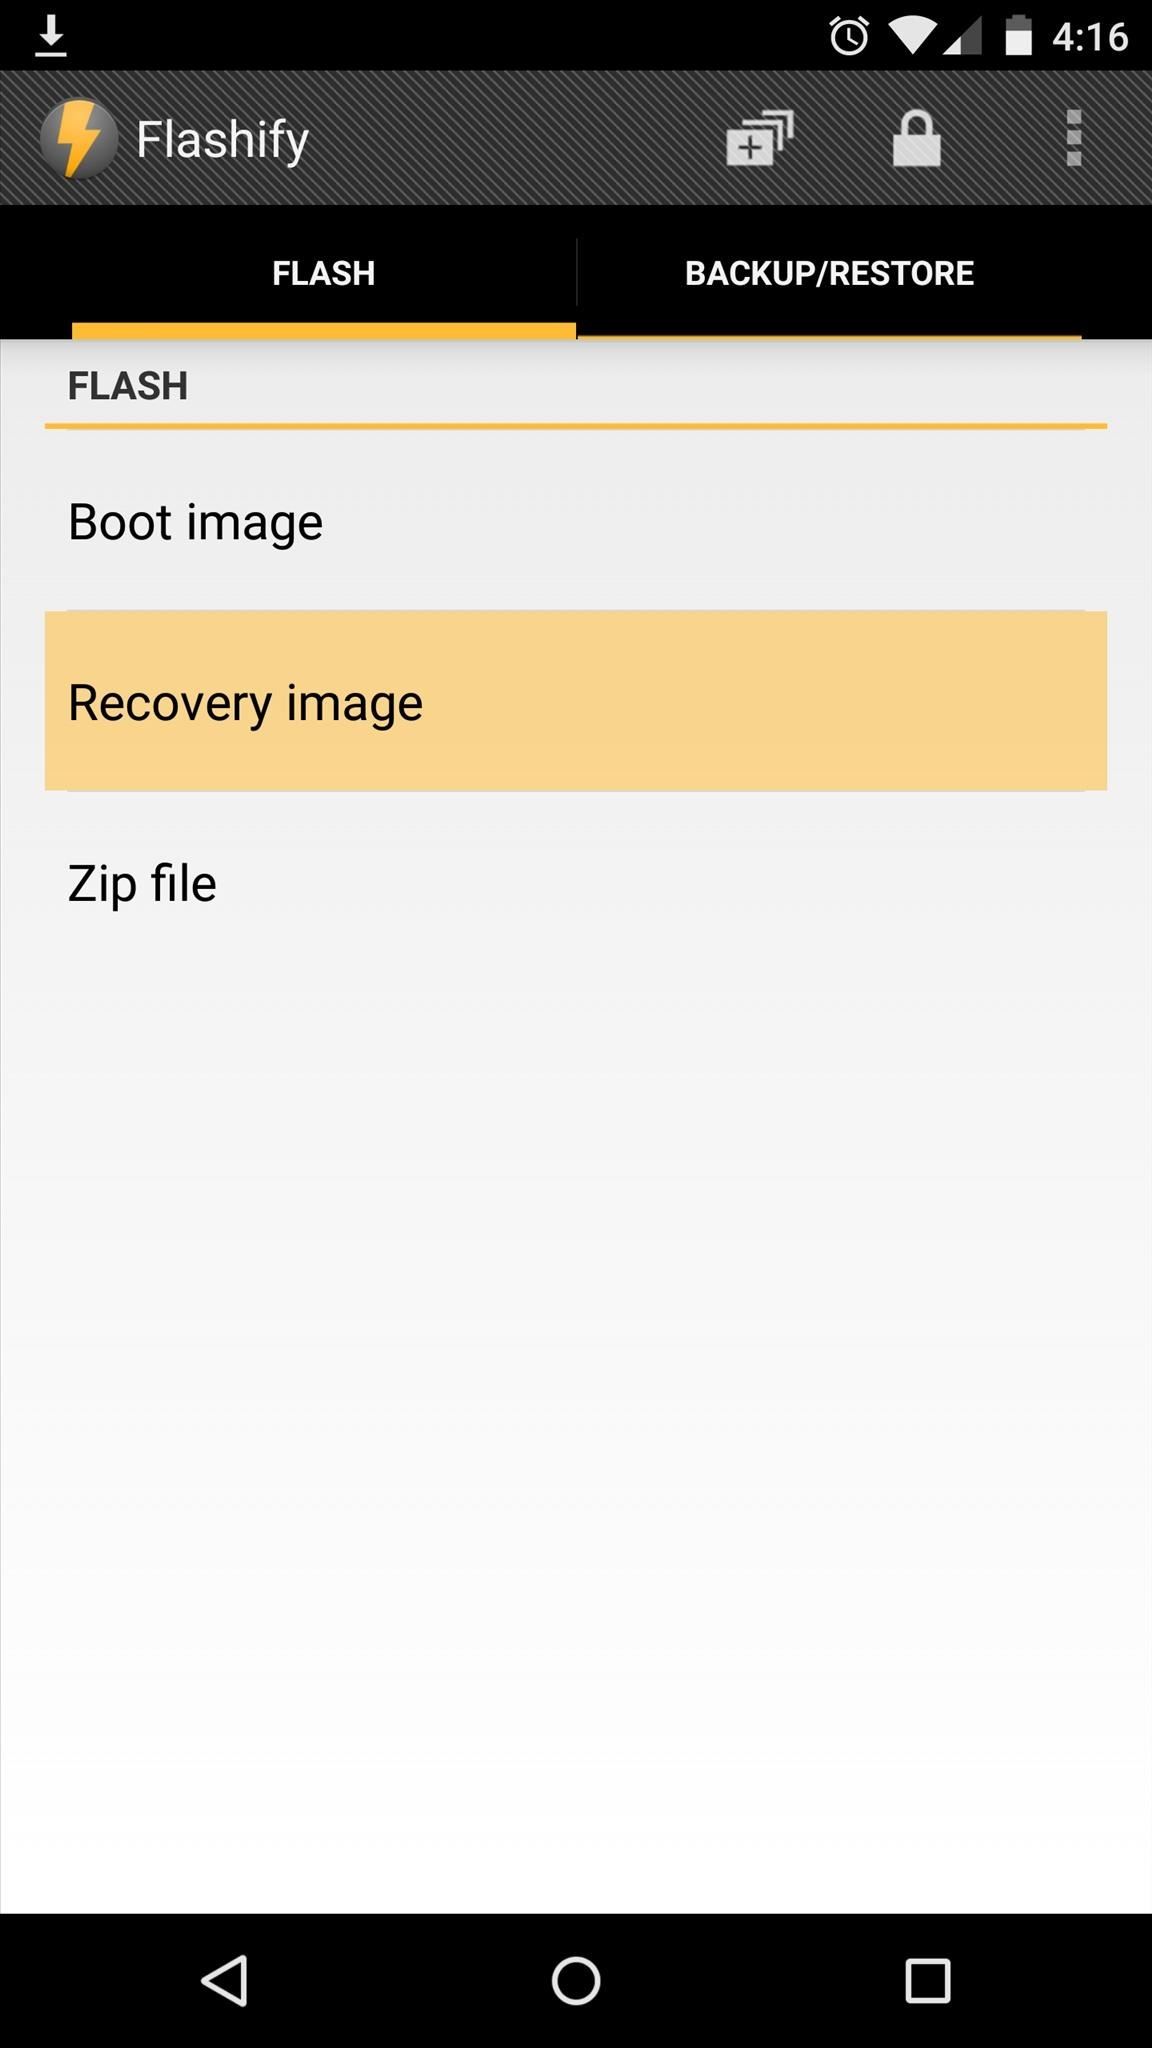
Step 4: Install TWRPFrom Flashify's main screen, tap the "Recovery" entry, then select "Choose a file." On the next screen, select the openrecovery-twrp-shamu.img file, then press "Yup!" on the popup. After a few seconds, TWRP Recovery will be installed on your device. Tap "Reboot now" to boot into your brand new custom recovery. Before you get all flash-crazy with the various mods that you've now unlocked, be sure to make a nandroid backup of your current setup. For more information on using TWRP's various functions, see my complete guide on the topic.What were the first mods you flashed with TWRP? Let us know in the comment section below, as well as on our Facebook and Twitter feeds.
There are many ways to enjoy books on your Nook. One of these options is through Adobe Digital Editions. Digital Editions is a way to buy and transfer real life books onto your computer and then your e-reader. You can do this with rented library books as well. Check out this clip and learn how to transfer a DRM book to your Nook fast and easily.
Transfer Downloaded eBooks from Computer to Nook Tablet?
News: These Guys Hacked Together a Raspberry Pi & Car Steering Wheel to Play Mario Kart How To: Snake in Mario Kart DS How To: Snake in Mario Kart for the Nintendo DS How To: Craving a Mario Kart Gaming Experience on Your iPhone? Give This Soft Launched Game a Try
Gaming « Gadget Hacks
How to Translate Languages in Real Time Using Bixby Vision on Galaxy S9/S9 Plus. In Samsung Galaxy 8 and 8+, Bixby did translated text using the camera feature; however, it took so long to translate that natives switched to Google Translate rather and get the translation done.
Galaxy S9: How to use Live Translation - YouTube
Completely Trick Out Finder on Your Mac with XtraFinder
The results are beginning to pour in. Koushik Dutta, of CyanogenMod and AllCast fame, has just released a beta version of his app Mirror, which can cast your rooted Nexus 5's display to a big screen via Chromecast.
how can i turn my android device's screen off while casting
How to Manage Your Live Tiles in Windows 8 - Gadget Hacks
This post covers the procedure to sync your Mac calendar (iCal) and contacts (Address Book) with a Lumia family Windows Phone. To sync your iCal calendar and Mac address book with your Lumia you will have to create a link to any EAS(Exchange Active Sync) service like gmail or Hotmail.
Syncing between a desktop computer and a mobile device - Sync
Hey! Join me on PayPal and we'll get $5 each when you make your first
How to Get Apple Watch Screen Saver - YouTube
Google Earth Pro was originally the business-oriented upgrade to Google Earth, with features such as a movie maker and data importer. Up until late January 2015, it was available for $399/year, though Google decided to make it free to the public.
By now, if you're an iPhone owner, you've probably updated to iOS 11 by now. If not, you really should, and not just for the animoji.The latest iOS update bakes in a few important security
24 iOS 11 Privacy & Security Settings You Should Check Right Now
Samsung has just rolled out it's latest flagship Samsung Galaxy S5 to over 125 countries few days back. The device, in all it's glory, is available on the shelves now and offers some really nice and cool features that are enough to empty your pockets.
How to Backup / Restore EFS from any Android Samsung Device
0 comments:
Post a Comment